
TL;DR
Moving your rig into a closet or separate room is the most impactful way to cut noise. Proper placement and ventilation matter more than just adding foam. The ‘rig in the closet’ works best when you balance soundproofing with airflow to prevent overheating.
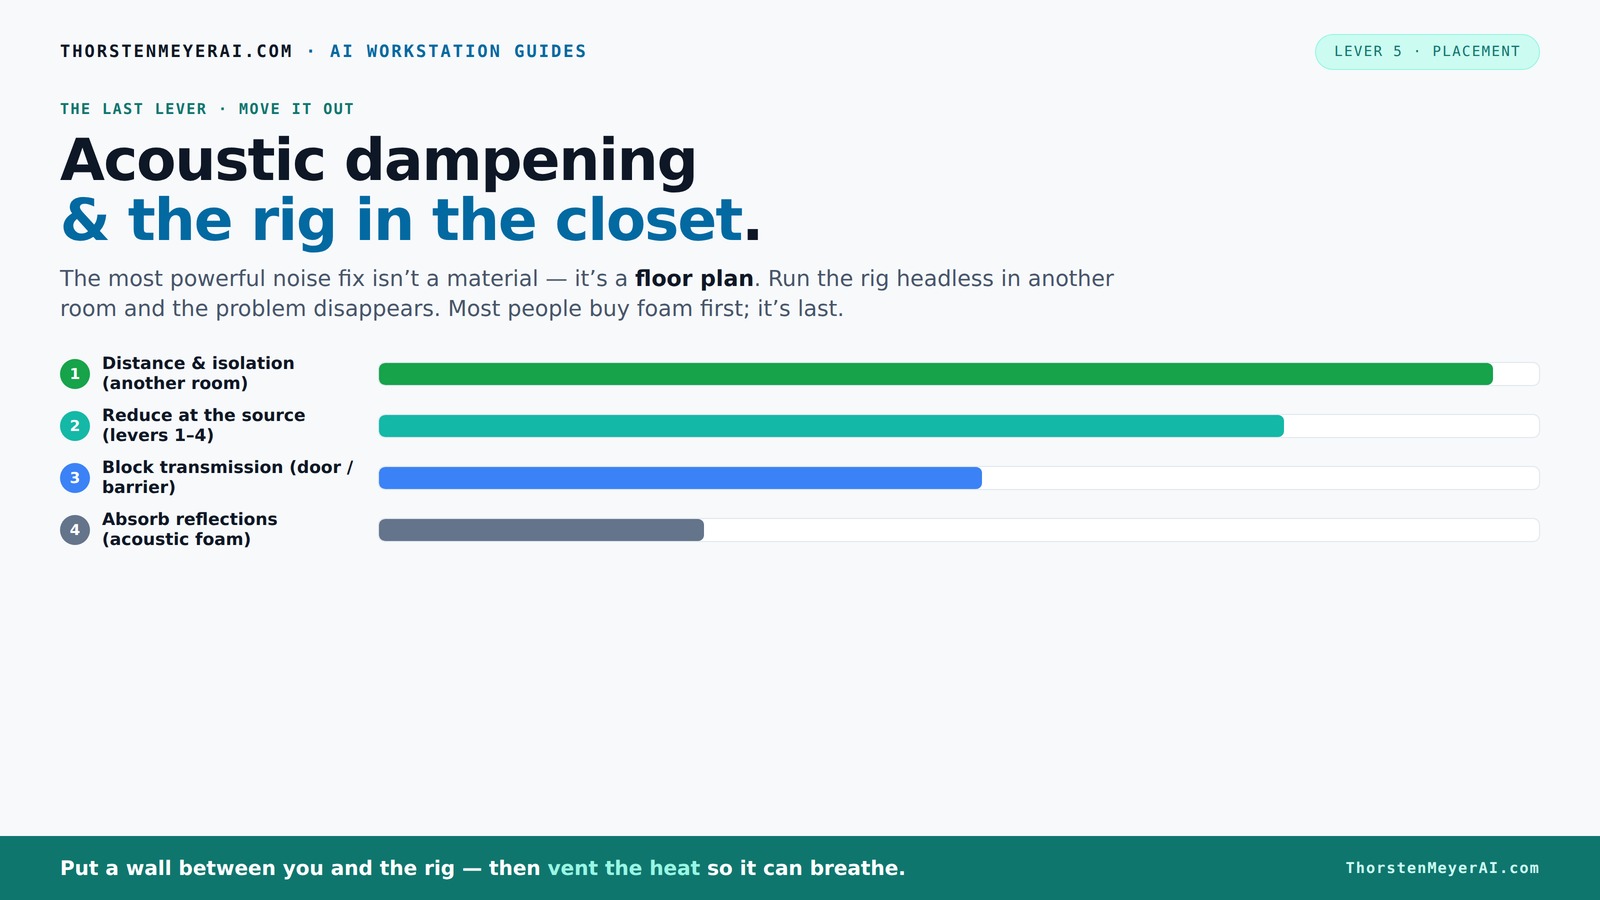
Acoustic dampening
& the rig in the closet.
The most powerful noise fix isn’t a material — it’s a floor plan. A rig you can’t hear because it’s in another room beats any amount of foam. Tap the approaches in Part 1 to see what actually works.
(another room)
(levers 1–4)
(door / barrier)
(acoustic foam)
Contain the noise, not the heat
Key Takeaways
- Moving your rig into a different room or closet dramatically cuts noise, often more than foam panels.
- Ventilation is critical—sealed closets trap heat, causing fans to roar louder and equipment to throttle.
- Place acoustic treatment at reflection points, especially first reflection spots and corners, to tame echoes and lows.
- Seal gaps around doors and cracks with weatherstripping or blankets to stop sound leaks.
- Layer soft materials—foam, blankets, rugs—inside the closet for better sound absorption in tight spaces.
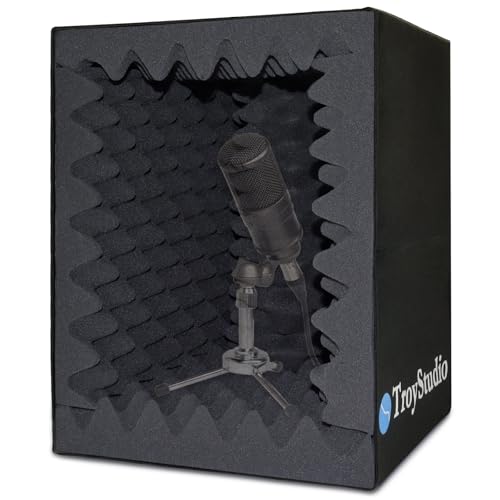
TroyStudio Mic Pop Filter Recording Shield, Portable Microphone Isolation Ball Shield, Vocal Booth, Music Studio Equipment Reflection Windscreen, Sound Foam Box Cover for Home Studio, Singing
【SPECIFICATION】: Inside size after setup: 8'' (L) X 10'' (W) X 12'' (H), large space for various studio...
As an affiliate, we earn on qualifying purchases.
As an affiliate, we earn on qualifying purchases.
Why Moving Your Rig Is the Most Powerful Noise-Reducer
Nothing beats distance when it comes to noise. If your PC or GPU rig is in the same room, every fan, coil, and hum gets right into your ears. But if you put that same rig in a closet or another room, the noise practically disappears. Think about it: your laptop is silent because the heat and noise are far away. You don’t need to drown out sound—just move it out of reach. For an AI workstation that you access over the network, this is the easiest, most effective fix. Just plug in a wired connection, set it up in the closet, and your workspace becomes silent.
The key is that you don’t need the rig physically next to you. This setup also means you can focus on sound quality and quiet operation without sacrificing performance or accessibility.

Focusound 52 Pack Acoustic Foam Panels 1" x 12" x 12" Sound Proof Foam Panles Soundproofing Noise Cancelling Wedge Panels for Home Office Recoding Studio with 300PCS Double-Side Adhesive
Soundproofing - Acoustic foam panels triangular grooves structure for better noise absorption, helps to reduce and absorb unwanted...
As an affiliate, we earn on qualifying purchases.
As an affiliate, we earn on qualifying purchases.
The 'Rig in the Closet': How to Make It Work Without Melting Down
Placing a high-power, heat-generating machine in a closet sounds perfect for noise reduction—until it overheats. The trick is ventilation. Without airflow, heat builds up fast. A closed closet traps the hot air, causing the rig to throttle and fans to scream. To avoid this, add active ventilation: a quiet exhaust fan, passive vents, or ducted airflow that pulls heat out and replaces it with cooler air. Think of it like a mini data center—hot air out, cool air in.
Serious setups use purpose-built soundproof cabinets with thermostatic fans and ducting, balancing noise suppression with cooling. If you’re DIY-ing, a simple vent with a quiet fan can keep your rig cool while muffling noise. Just remember: your rig needs to breathe, or it will turn into a noisy, overheating mess.
In essence, effective ventilation is a tradeoff between noise and heat management. The more you restrict airflow, the hotter your rig gets, which can lead to thermal throttling, increased fan noise, and potential hardware damage. Conversely, over-ventilating with loud fans defeats the purpose of quieting the setup. Finding the right balance—using quiet, thermostatically controlled fans and well-placed vents—is crucial for sustained silence and hardware longevity.
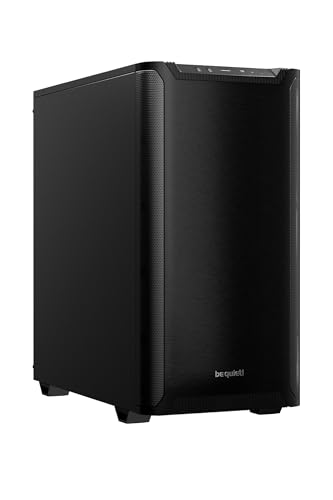
be quiet! Pure Base 501 Black ATX Case | 2 Preinstalled Pure Wings 3 140mm PWM Fans | Optimized Air Pressure | Compact PC Case | Vertical GPU Installation | USB 3.2 Gen. 2 Type C | BG073
Without any distractions, Pure Base 501 is reduced to excel at its core functions and is aimed at...
As an affiliate, we earn on qualifying purchases.
As an affiliate, we earn on qualifying purchases.
Acoustic Dampening 101: Where to Place Foam, Blankets & Panels for Best Results
Acoustic dampening isn’t about deadening every surface; it’s about controlling reflections and reducing echo inside the small space. The first step: target the first reflection points—usually the side walls and ceiling where sound bounces back from your mic or speakers. Use foam panels or blankets to absorb these echoes. For example, placing foam at the side walls at ear level can cut flutter echo significantly.
But why focus on these points? Because sound waves bouncing around create reverberations that muddy recordings and make your space sound harsh. Absorbing reflections at these crucial spots prevents sound from bouncing endlessly, which improves clarity. Layering soft materials—like foam, blankets, and rugs—inside the space not only reduces echoes but also minimizes the harshness of standing waves. This layered approach ensures that reflections are absorbed at multiple points, creating a more natural and controlled acoustic environment. The tradeoff is that excessive treatment can make the space sound 'dead,' so strategic placement is key to maintaining a natural tone while reducing unwanted echoes.

72in 3-Panel Soundproof Room Divider with Wheels, Heavy-Duty Acoustic Partition Temporary Wall for Noise Reduction, Portable Divider for Home Hospital Library Classroom - Light Grey
【Noise Reduction】Our room divider can absorb at least 85% of the noise, creating a quiet environment without being...
As an affiliate, we earn on qualifying purchases.
As an affiliate, we earn on qualifying purchases.
Sealing Gaps & Doors: Stop Sound Leaks and Keep Your Neighbors Happy
Sound leaks out of tiny closets through cracks, gaps, and thin doors. Sealing these weak points makes a huge difference. Sealing gaps and doors with weatherstripping around the door frame, sealing cracks with acoustic sealant, and adding a heavy blanket over the door can block most sound escape routes. For example, a thick moving blanket taped over the door can cut noise by 10-20 dB, making your space much quieter.
Why does this matter? Because even small gaps can let in or let out significant amounts of sound, undermining your entire effort to quiet the space. Sealing gaps not only prevents sound leaks but also improves the overall acoustic environment by reducing external noise intrusion. This is especially important if you live in an apartment or shared dwelling, where even minor leaks can disturb neighbors or be disturbed by external sounds. The tradeoff is that sealing too tightly can affect ventilation, so combining sealing with proper airflow solutions is essential for both quiet and cooling.
Treating Corners & Low Frequencies for a Clearer Sound
Corners are the low-frequency troublemakers. Bass builds up in these spots, creating boomy, muddy sound. Adding bass traps or thick foam in the corners helps tame these unruly lows. For example, a 4-inch thick foam bass trap in each corner can reduce low-end resonance by 50%, according to soundproofing experts.
If your recordings sound boomy or your monitors rattle, low-frequency treatment in corners can make a world of difference. It’s a simple step that prevents your small closet from turning into a low-frequency echo chamber. The tradeoff here is that bass trapping can be costly and space-consuming, but neglecting low frequencies often results in a muddy, unprofessional sound that’s hard to correct in post-production.
Budget DIY Hacks vs. Serious Soundproof Cabinets
In a tiny closet, you can start cheap: blankets, rugs, and foam panels are surprisingly effective. Cover the ceiling with a thick blanket or acoustic panel, place foam on the side walls, and seal gaps with weatherstripping. These DIY methods can cut noise and reflections significantly without breaking the bank.
However, for serious recording or mixing, investing in a purpose-built soundproof cabinet offers more reliable and consistent results. These cabinets combine high-density materials, specialized damping, and active cooling systems to provide a controlled acoustic environment in a small footprint. Although they can cost several hundred dollars or more, they often include features like thermostatic fans and modular panels, making them a worthwhile investment for professional or semi-professional setups. The tradeoff is cost and complexity, but the payoff is a more predictable, quieter, and better-cooled environment.
Common Mistakes in Closet Rigs & How to Avoid Them
Many people make the mistake of sealing the closet completely without ventilation, turning their space into a heat trap. Others add too little absorption, leaving echoes harsh and reflections uncontrolled. Overlooking gaps around doors or windows can also sabotage efforts.
Remember: your goal is a balance—soundproof enough for your needs but with enough airflow to keep things cool. Ignoring heat management can lead to thermal throttling, increased fan noise, and potential hardware failure. Conversely, excessive sealing can trap heat, which may cause the rig to overheat and fans to run at high speeds, defeating the purpose of quiet operation. To troubleshoot effectively, test your setup by recording a sample and listening for echoes or leaks. Small tweaks—like repositioning foam, sealing gaps, or adding a vent with a quiet fan—can dramatically improve your results. The key is understanding that achieving silence isn’t just about absorption but also about managing heat and airflow.
Is a Closet Big Enough? When to Say No
A tiny closet can work surprisingly well as a vocal booth, but only if it’s properly treated and ventilated. If your closet is less than 3 feet wide, the sound will be too reflective, and ventilation options limited. For serious recording, a larger space or dedicated booth might be better.
Sometimes, the closet space just isn’t enough—either for the size of your mic or for the airflow you need. In those cases, consider a small, portable vocal booth or a custom DIY enclosure with proper soundproofing and cooling. Always weigh the tradeoffs between size, sound quality, ventilation, and practicality before committing to a closet-based setup.


