
To effectively scan old photos, set your scanner to 300 DPI, balancing detail and file size. Higher DPI captures fine textures and sharp lines, ideal for preservation and editing, while lower DPI risks losing important details. Use TIFF for archival quality and JPEG for sharing. Starting with 300 DPI guarantees you’re preserving maximum detail without overwhelming your storage. If you want to learn more about optimizing your scans, keep going to discover how to perfect your digitization process.
Key Takeaways
- Set scanner to 300 DPI for a balanced mix of detail and manageable file size.
- Use TIFF format for archiving and JPEG for sharing or casual viewing.
- Prioritize high-resolution scans to enable precise restoration and future editing.
- Organize digital files systematically for easy access and efficient workflow.
- Plan color correction early to enhance faded photos and preserve details.
When it comes to preserving old photos, choosing the right DPI (dots per inch) for scanning is essential to capturing details without creating unnecessarily large files. The DPI setting determines the resolution of your scanned images, influencing how much detail is retained and how manageable the files are. If you scan at too low a DPI, you risk missing important details, especially in photos with fine lines or subtle textures. Conversely, scanning at an excessively high DPI produces massive files that can slow down your workflow and consume storage space without offering significant benefits for viewing on standard screens or printing small sizes.
Most organized people understand that for general digital storage and sharing, a DPI of 300 strikes the right balance. It captures enough detail for high-quality enlargements or detailed viewing, while keeping file sizes reasonable. When you set your scanner to 300 DPI, you’re ensuring that your images maintain clarity, which is especially important if you plan to perform color correction later. Color correction can dramatically enhance faded or discolored photos by adjusting tones, brightness, and contrast, bringing old images back to life. Having a high-resolution scan makes these edits more precise, because the extra detail allows you to work on the photo without introducing artifacts or loss of quality.
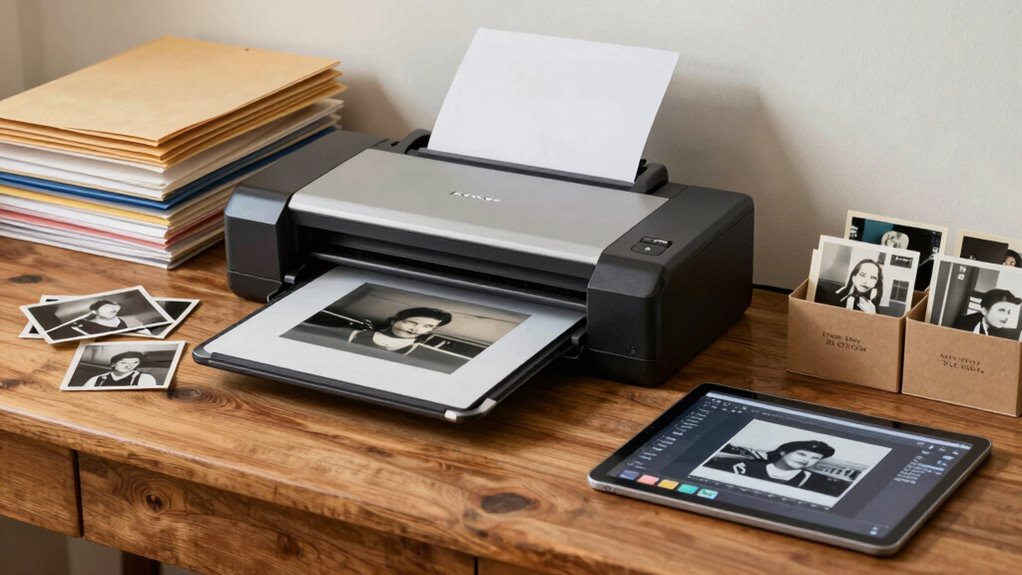
A 300 DPI scan balances detail and file size, ideal for editing, sharing, and preserving old photos.
Another key consideration organized folks figure out early is choosing the appropriate file format. TIFF (Tagged Image File Format) is often their go-to because it preserves the highest quality with lossless compression, making it ideal for archiving and detailed editing like color correction. JPEGs, on the other hand, are more common for everyday use and online sharing because they produce smaller files, but they can lose quality if compressed too heavily. When scanning, you might start with a TIFF for archival purposes and convert to JPEG for casual viewing or sharing.
Ultimately, understanding the interplay between DPI, file formats, and your editing needs helps you streamline your digitization process. Setting your scanner to 300 DPI, selecting the right file format, and planning for color correction from the start ensures your old photos are preserved faithfully and can be enhanced with ease. This approach keeps your digital archives organized, high-quality, and ready for any future projects or restorations. Recognizing the importance of scan resolution early on can save you time and ensure your images are preserved with the necessary detail.

Plustek Photo Scanner ePhoto Z300, Scans 4×6 inch Photos in 2 Seconds, Auto crop and deskew with CCD Sensor, Supports Mac and PC
The easiest way to scan photos and documents. Supports 3×5, 4×6, 5×7, and 8×10 in sizes photo scanning…
As an affiliate, we earn on qualifying purchases.
As an affiliate, we earn on qualifying purchases.
Frequently Asked Questions
How Does DPI Affect Photo File Size?
Higher DPI increases your photo file size because it boosts resolution clarity, capturing more detail. When you scan at a higher DPI, the image contains more pixels, making the file larger. Conversely, lower DPI reduces file size by decreasing resolution. Keep in mind, higher DPI also results in less image compression, preserving detail but creating bigger files. So, your choice of DPI directly impacts both resolution clarity and the overall file size.
What’s the Best DPI for Printing Old Photos?
Think of your old photos as treasures waiting to be revealed. For printing, a DPI of 300 is your golden ticket, ensuring sharp details and vibrant colors. This setting balances quality and file size, making it ideal for photo preservation and digital archiving. Using 300 DPI guarantees your cherished memories are preserved with clarity, ready to be printed or shared, keeping your history alive for generations to come.
Can I Scan Negatives or Slides With DPI Settings?
Yes, you can scan negatives or slides with appropriate DPI settings. For negative scanning and slide preservation, aim for at least 2400 DPI to capture fine details and color accuracy. Higher DPI, like 3200 or more, is better if you plan to enlarge or print. Adjust your settings based on your project’s needs, and use dedicated negative or slide scanning modes if available for ideal results.
How Do I Choose DPI for Large Photo Prints?
Don’t worry about choosing an ultra-high DPI for large prints; 300-600 DPI usually suffices, ensuring good color accuracy and minimizing image compression issues. Higher DPI can lead to unnecessarily large files, slowing your workflow. Focus on a balance that preserves detail without sacrificing quality—especially if your goal is vibrant, sharp prints. Remember, too high a DPI might not improve the print and could just complicate your editing process.
Does Higher DPI Always Mean Better Quality?
Higher DPI doesn’t always mean better quality because it depends on your image resolution and digital compression. If your photo has low resolution, increasing DPI won’t improve clarity and may create larger files. Digital compression can also affect quality, causing loss of detail at high DPI settings. Focus on balancing resolution and compression to get the best quality for your prints, rather than just aiming for the highest DPI.

Epson Workforce ES-400 II Color Duplex Desktop Document Scanner for Computers Including PC and Mac with Auto Document Feeder and Image Adjustment Tools
FAST DOCUMENT SCANNING — Document scanner with feeder allows you to speed through stacks with a 50-sheet Auto…
As an affiliate, we earn on qualifying purchases.
As an affiliate, we earn on qualifying purchases.
Conclusion
As you master the art of scanning, remember that DPI is your compass guiding the preservation of memories. Think of each photo as a fragile ship, and your settings as the lighthouse illuminating its path through time. When you choose the right DPI, you’re not just saving an image—you’re safeguarding a story, a legacy, a piece of eternity. Let your careful choices be the steady hand steering these treasured moments safely into the future.
Plustek Photo Scanner ePhoto Z300, Scans 4×6 inch Photos in 2 Seconds, Auto crop and deskew with CCD Sensor, Supports Mac and PC
The easiest way to scan photos and documents. Supports 3×5, 4×6, 5×7, and 8×10 in sizes photo scanning…
As an affiliate, we earn on qualifying purchases.
As an affiliate, we earn on qualifying purchases.